红心酥皮泡芙的做法
来源:360做菜网 分类:特色小吃 时间:2015-11-26 14:06:00
双11买的海氏60L烤箱,用我一直虎视眈眈的酥皮泡芙来今天开光。老公下午在家,弄了点小浪费,充满爱意的红心泡芙哦!
红心酥皮泡芙用料工具
主料:低筋面粉(124克)黄油(90克)牛奶(125克)红曲粉(1.5克)蛋液(120克)糖粉(20克)盐(1克)淡奶油(100克)砂糖(15克)辅料无
厨具: 汤锅、电烤箱分类烘焙奶香烘焙一小时简单难度
红心酥皮泡芙的做法:
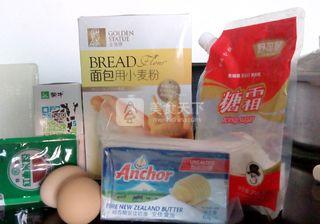
1.准备好所有材料
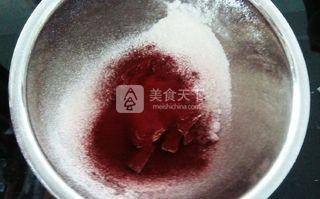
2.40克黄油软化,加入糖粉,筛入50克低筋面粉,1.5克红曲粉
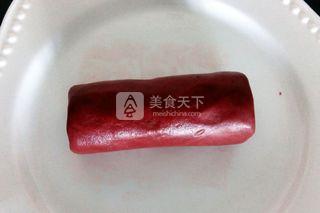
3.用刮刀拌成面团,搓成圆柱形,包保鲜膜后放冰箱冷冻15分钟
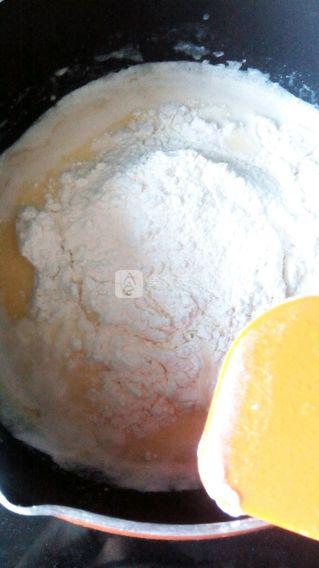
5.筛入剩余的面粉
6.拌至无干粉后离火
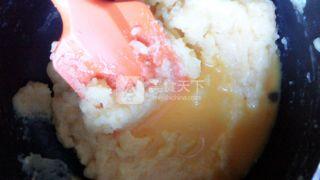
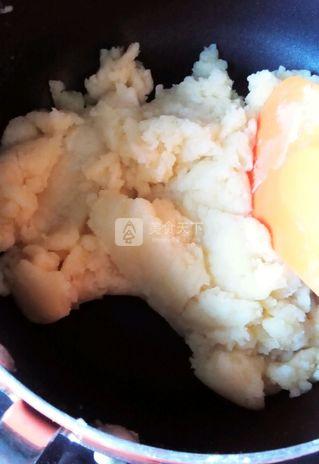
7.等面团稍稍降温后分次加入蛋液
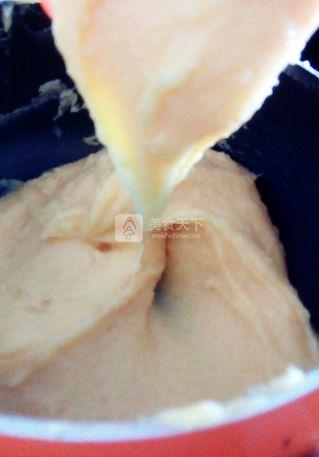
8.搅拌至刮刀提起有个大约4cm的倒三角形为好,停止加入蛋液
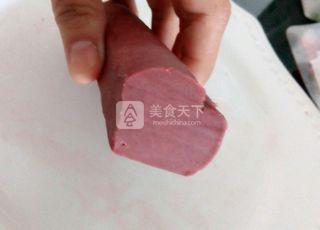
9.冰箱取出酥皮面团,小刀修整成心形
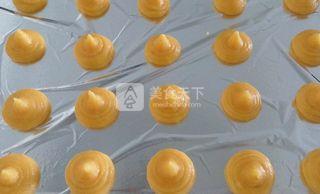
10.将泡芙液装入裱花袋,底部剪一小圆口,大小均匀的挤在烤盘上

11.将爱心酥皮轻轻按在泡芙上
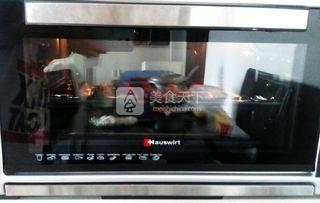
12.海氏烤箱测试后温度高20度,所以我调180度上下火15分钟,然后160度20分钟
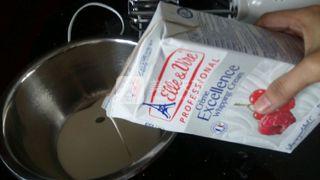
13.倒入大概100g的淡奶油,加入砂糖,打发至有纹路,不流动即可,用泡芙专用嘴将奶油挤进泡芙里
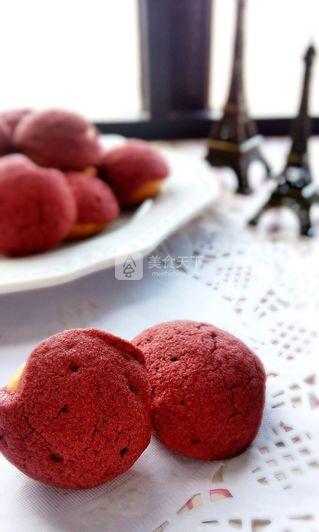
14.一杯热咖啡,一盘红心酥皮泡芙,一份浪漫的下午茶时光
小窍门:
在烘焙的过程中不要打开烤箱门,烤好后在烤箱中闷至温度降至60度再拿出来
更多美食推荐:泡芙的做法大全
- 推荐美食
- 相关菜谱